
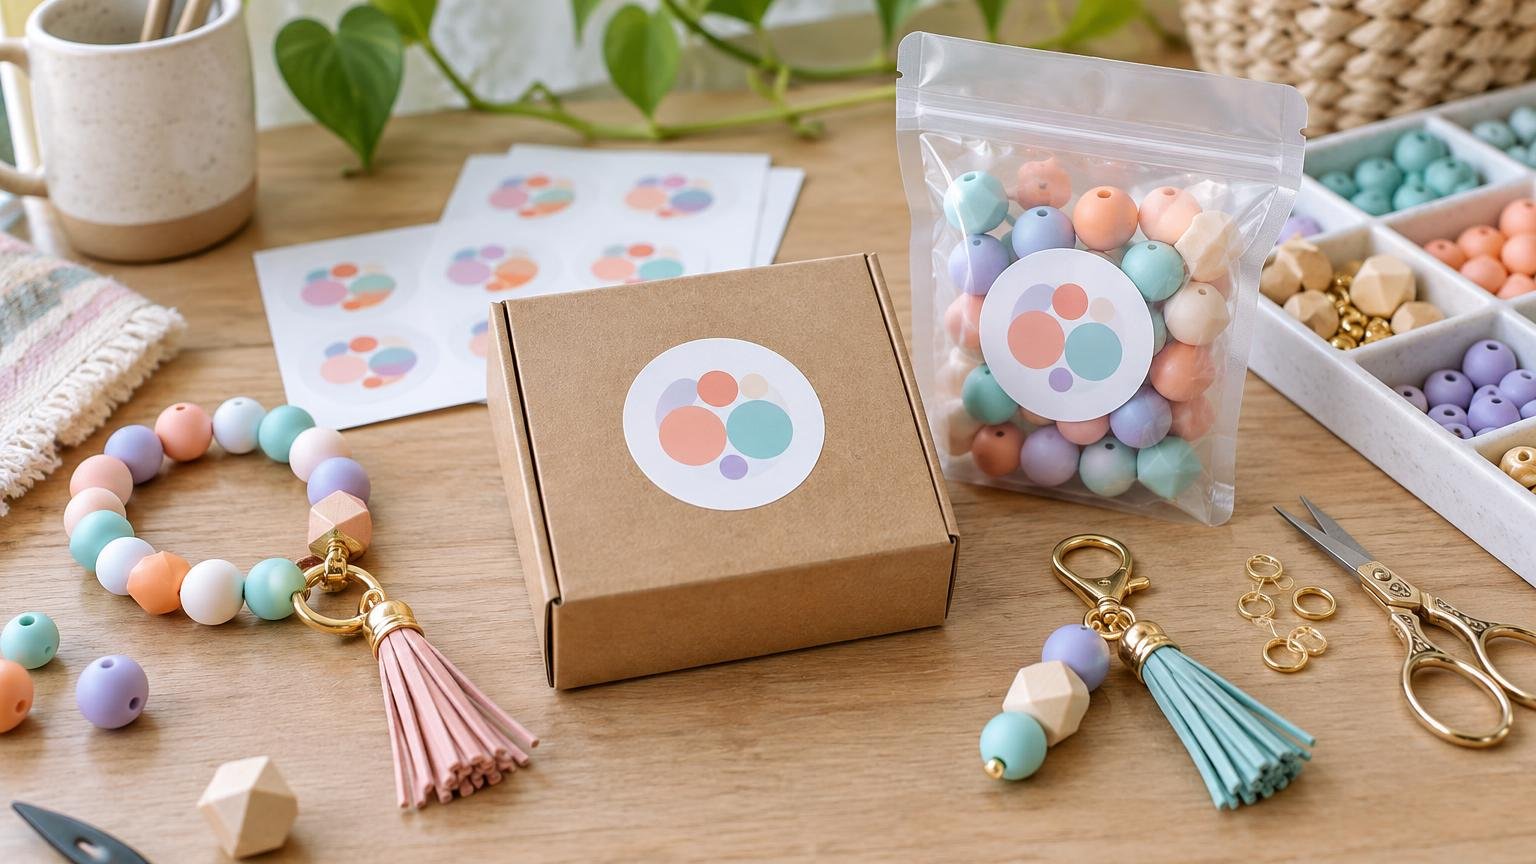
How to Turn a Bead-Shop Logo Into Packaging Stickers
The best way to learn how to turn a bead-shop logo into packaging stickers is to start with the package, not the logo file. Decide what the sticker must do on a bead bag, jewelry card, box, or mailer. Then simplify the artwork until it can do that one job clearly at its finished size.
A packaging sticker does not need to carry your full brand story, every product detail, a social handle, a website, and a promotional message. For most bead businesses, the cleanest result is a recognizable logo sticker supported by a separate product label whenever materials, quantities, colors, or stock numbers change.
Choose one job for the packaging sticker
Begin by naming the sticker’s primary role. A tissue seal has different visual demands from a product label, and a sticker placed on a shipping box has more room than one attached to a tiny bag of beads.
| Packaging job | What to emphasize | What to leave elsewhere |
|---|---|---|
| Bag or tissue seal | A compact logo mark or shop name | Changing product details and long messages |
| Logo-only brand mark | The most recognizable part of the logo | Instructions, quantities, and multiple web addresses |
| Product-identification label | Product name plus essential identifying details | A long brand story or decorative copy |
| Box or mailer sticker | A larger logo and one short supporting line | Order-specific information |
| Thank-you extra | A cheerful brand mark or brief thank-you | Required warnings and package-securing duties |
If one sticker must work in several places, design around the smallest important application. A logo that remains readable on a compact bead bag can usually be enlarged for a box. A design created for a mailer may become an indistinct cluster when reduced.
Simplify the logo for its finished size
Use the clearest version of your existing logo, which may not be the most detailed version. Small packaging stickers reward bold shapes, open spacing, and obvious contrast. Fine flourishes, pale outlines, tiny taglines, and delicate script can disappear even when they look lovely on a large screen.
Make a working copy before editing so the original logo remains intact. On the sticker version, consider removing a tagline, thickening fragile lines, opening tight letter spacing, or using a simplified icon with the shop name. Keep enough empty space around the mark that the cut edge does not make it feel cramped.
Judge every change at actual size. Zooming in can make nearly any design seem readable. Print the logo at 100% scale on ordinary paper, trim around it, and view it from a normal handling distance. If you have to bring it close to identify the shop name, simplify it again.
Match the sticker size to the package
Measure the flat placement area on an assembled package before choosing dimensions. Do not rely only on the bag or box dimensions: folds, seams, windows, punched hanging holes, and curved edges all reduce the usable space.
As an initial paper-mockup range rather than a fixed rule, try a sticker around 1 to 1.5 inches wide for compact bag or tissue seals. Mock up roughly 1.5 to 2.5 inches for small boxes, jewelry-card sleeves, or kit packaging. A mailer may support a design around 2 to 3 inches wide, provided it does not cross an edge or compete with the shipping label.
Print two or three nearby sizes and tape them to the real packaging. Fill the package first, especially when working with flexible bags. Loose beads can change the bag’s shape and make a sticker that looked well placed on an empty package appear tilted or wrinkled.
Select a shape and finish that support the design
Choose shape according to the logo and placement rather than novelty. Circles suit compact seals and centered emblems. Rectangles give a shop name, product line, or short website more horizontal room. A custom contour can make a distinctive icon stand out, but the silhouette should remain simple enough to look intentional at small sizes.
Matte and gloss are visual choices, not quality rankings. Matte can feel soft and understated while reducing distracting reflections on small type. Gloss can make saturated color feel lively and can coordinate well with polished packaging. Test either finish against the actual material because clear plastic, kraft paper, tissue, and coated boxes create different backgrounds.
CustomStickers.com states that its label and packaging stickers are offered in matte and gloss, use contour-shaped vinyl with permanent adhesive, and are described as water- and oil-resistant. Those properties may be useful for handled packaging, but the surface still matters; test adhesion on your chosen bag or box before committing to a large quantity.
Keep permanent branding separate from changing information
Your logo and shop name are relatively stable. Bead colorways, quantities, materials, prices, SKUs, and batch details are not. Putting every variable on the branding sticker can leave you with unusable inventory as soon as a product changes.
A flexible setup uses one branded sticker across the product line and a smaller variable label for product-specific information. For example, the main sticker could show the bead-shop name and logo, while a secondary label identifies “10-piece mix,” the colorway, material, and stock code. This also gives you room to make essential information readable instead of squeezing it around the logo.
Treat a QR code as optional supporting information. Give it clear space, keep it away from curved package areas, and scan a printed sample with more than one phone before ordering. A QR code should not be the only way a customer can identify the business or obtain information that must remain visible on the package.
Build a print-ready sticker file
Create the document at the intended final dimensions. A vector version of a logo is useful because its shapes can be resized without becoming pixelated. Common vector deliverables may include PDF, SVG, or EPS, but the printer’s accepted-file list should decide what you submit.
A PNG can also work when it is high resolution, exported at an appropriate size, and free of fuzzy edges. Transparent backgrounds are useful for contour-cut designs. A tiny logo copied from a website or social profile is a poor starting file because enlarging it does not restore missing detail.
Keep the logo, shop name, and other important elements inside the safe area. If a color or image should run to the cut edge, extend it beyond the trim line into the bleed rather than stopping it exactly at the edge. Canva’s guidance to margins, bleed, and crop marks explains these print-preparation areas and identifies PDF Print as a print-oriented export option with high-resolution output and bleed controls.
- Set the artboard or page to the final sticker dimensions.
- Confirm that the logo is sharp at 100% view.
- Keep important text and artwork away from the cut line.
- Extend edge-to-edge backgrounds through the required bleed.
- Convert or embed fonts if the printer’s workflow requires it.
- Export using the printer’s preferred color and file settings.
- Name the file clearly so old and current versions are not confused.
Do not add crop marks or invent a bleed measurement unless the printer requests them. Production templates and submission requirements vary, so follow the specifications supplied for the exact sticker product.
Proof the sticker on the real package
A proof is your last chance to catch a polished-looking mistake. Inspect the cut line, final dimensions, spelling, capitalization, website or social handle, color placement, and the amount of clear space around the logo. If the design includes a border, check whether small cutting variation could make that border look uneven.
Review the proof at finished size as well as enlarged. Then return to the physical mockup. Check the sticker against clear, kraft, white, and colored packaging if you use more than one background. A pale logo that looks crisp on a white screen may lose contrast on a clear bag filled with colorful beads.
- Can the shop name be read without zooming in?
- Does the shape suit the available flat area?
- Are the trim line and bleed positioned correctly?
- Are small details comfortably inside the safe area?
- Does the design remain clear once the package is filled?
- Do URLs, handles, and QR codes work?
- Is product information separate where it changes frequently?
Order the appropriate packaging sticker
Once the file and paper mockup are ready, you can compare custom sticker options by shape, finish, and intended use. For the specific application covered here, the company’s label and packaging stickers page is the relevant product destination. CustomStickers.com states that customers receive a proof before production and can request revisions, so use that stage to verify the production interpretation rather than approving it automatically.
For an unfamiliar material or redesigned logo, a smaller first order reduces the risk of discovering too late that the sticker is oversized, the finish clashes with the package, or the adhesive and surface are not a good match. Apply samples to filled packages, handle them as a customer would, and check the result under ordinary room lighting before standardizing the design.
Keep branding separate from safety and shipping needs
A decorative logo sticker should not cover required product information, warnings, barcodes, or age guidance. This becomes especially important when an item is intended for children. The CPSC provides rules and guidance concerning small parts and choking hazards, including restrictions relevant to products intended for children under age three. Check the requirements for the exact product and intended age group; adding a warning does not make an otherwise noncompliant product acceptable.
Likewise, do not depend on a branding sticker to secure loose beads or rigid jewelry for mailing. Use an inner bag or container that contains the product independently. USPS advises using padded envelopes or boxes for rigid or odd-shaped contents instead of treating them like an ordinary letter. Place the logo sticker where it supports presentation without interfering with the shipping label, closure, or opening instructions.
Turn the logo into a repeatable packaging system
The strongest bead-shop sticker is not the one carrying the most information. It is the one that remains recognizable, readable, and well positioned when attached to the real package.
Choose one packaging job, simplify the logo at actual size, and make a paper mockup before ordering. Keep changing product details on a separate label, prepare the artwork with safe areas and bleed where needed, and examine the proof carefully. That process gives you a sticker that can become a dependable part of packing bead orders rather than a tiny version of an overcrowded business card.
Frequently Asked Questions
What file should I use for a bead-shop logo sticker?
Use a vector file such as PDF, SVG, or EPS when the printer accepts it. A high-resolution PNG at the correct final size can also work, but the printer’s file requirements should determine the format.
What sticker size works for small bead bags?
Measure the package’s usable flat area first. As a paper-mockup starting point, try approximately 1 to 1.5 inches wide, then test nearby sizes on a filled bag before ordering.
Should product details go on the logo sticker?
Keep the main sticker focused on stable branding. Put changing details such as colorways, quantities, materials, prices, SKUs, or batch information on a separate variable label.
What should I check before approving a sticker proof?
Check the cut line, final dimensions, spelling, capitalization, color placement, safe areas, bleed, contrast, URLs or handles, and any QR code. Review the proof at finished size and compare it with a physical mockup.
Can a logo sticker secure or replace required information on bead packaging?
No. Keep branding clear of required product information, warnings, barcodes, and age guidance. Applicable children’s products must meet relevant small-parts requirements; a warning does not correct noncompliance. Use an inner bag or container to hold the product, and use a padded envelope or box for rigid or odd-shaped mailed contents.