Crafting Aromas: A Guide to Homemade Scented Candles
Creating your own scented candles at home isn't just a delightful hobby—it's a journey into crafting unique aromas that reflect your personal style and enhance your living space. Here, we share our expert guide on how to make homemade scented candles.
Gathering Your Materials
To start making your homemade scented candles, we'll first need to gather the necessary materials. This list includes:
- Wax: There are a variety of options including soy wax, paraffin wax, and beeswax.
- Fragrance oils: Choose scents that speak to your senses. Lavender for calm, citrus for energy, or even vanilla for comfort.
- Candle wicks: Pre-waxed wicks are easy to use, and they come in different thicknesses suitable for various candle sizes.
- Containers: Choose glass jars, metal tins, or ceramic vessels based on your aesthetic preference.
- A double boiler or a heat-safe bowl and a pot: To melt your wax safely.
- A thermometer: This is crucial for monitoring the temperature of your melting wax.
- Wick holders or clothespins: To keep wicks in place while your candles harden.
The Candle-Making Process
Step 1: Preparing Your Workspace
First, clean your workspace and lay out all the materials. Make sure the area is well-ventilated to let the fragrances waft without overpowering the room.
Step 2: Melting the Wax
Place your wax into a heat-safe bowl or the top of your double boiler. Fill the bottom half of the double boiler or a separate pot with water and set it on medium heat. As the water heats, it will gently melt the wax. Use your thermometer to monitor the wax temperature—it should reach around 185°F (85°C).
Step 3: Adding the Fragrance
Once the wax has melted and reached the correct temperature, you can add your chosen fragrance oils. We recommend using about 1 oz (30 ml) of fragrance oil per 16 oz (450 g) of wax but feel free to adjust according to your scent preference.
Step 4: Preparing Your Container
While your wax is cooling slightly, prepare your container by affixing the wick. You can use a little melted wax to stick the wick's metal tab to the bottom of the container, then use a wick holder or clothespin to keep the wick centered.
Step 5: Pouring the Wax
Pour the melted wax into your container, leaving some room at the top. Make sure the wick stays centered and upright.
Step 6: Let the Candle Cool
Allow your candle to cool and harden completely. This usually takes around 24 hours. Be patient—disturbing the candle while it's hardening can cause imperfections.
Step 7: Trimming the Wick
hardened, trim the wick to about a quarter inch. This will ensure that your candle burns evenly and safely.
Step 8: Lighting Your Candle
Congratulations! You've now crafted your very own homemade scented candle. Light it up and enjoy the unique scent that you've created. Remember, safety comes first, always keep lit candles within sight, away from flammable objects, and out of reach from children or pets.
Tips for Crafting Perfect Scented Candles
Crafting your own scented candles can be a fulfilling experience, and there's always room for refinement. Here are some tips to help you perfect your craft:
- Test different wax and fragrance combinations: The type of wax you use can affect how the scent is released. Experiment with different types to see what works best with your chosen fragrance.
- Invest in quality fragrance oils: High-quality oils might cost more, but they're worth it for a superior scent throw.
- Ensure your wicks are the right size: Wicks that are too small can drown in the melting wax, while those too large can create high flames. Make sure to select the right size for your specific container and wax type.
- Let your candle cure before lighting it: Curing a candle for 48 hours before the first burn can help achieve a better scent throw.
The Benefits of Homemade Scented Candles
Making your own scented candles can be more than just an engaging hobby. There are numerous benefits you can gain from this process:
Personalized Scents
Store-bought candles may not always cater to your preferred scent. Making your own gives you complete control over the fragrance. From a single scent to a complex blend, the choice is yours.
Cost-Effective
Once you've gathered all the necessary materials, making your own candles can be more cost-effective than repeatedly buying store-bought ones.
Therapeutic Experience
The process of making scented candles can be therapeutic. The act of creating something with your hands, coupled with the soothing scents of your chosen fragrances, can be a source of relaxation and stress relief.
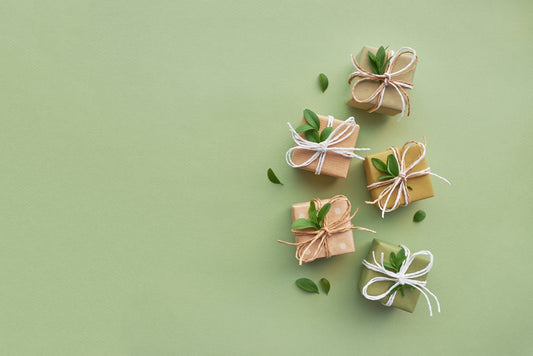
Unique Gifts
A homemade scented candle makes a thoughtful, personalized gift. Whether it's for a birthday, housewarming, or just a simple 'thinking of you' gesture, your candles can spread warmth and joy to others.
In conclusion, creating your own homemade scented candles allows you to infuse your personal touch into your living space, experiment with different fragrances, and even give thoughtful gifts to loved ones. With our comprehensive guide, you're now ready to embark on this fragrant journey. Happy candle-making!