Packaging Handmade Beaded Wristlets: Boxes, Inserts and Brand Stickers
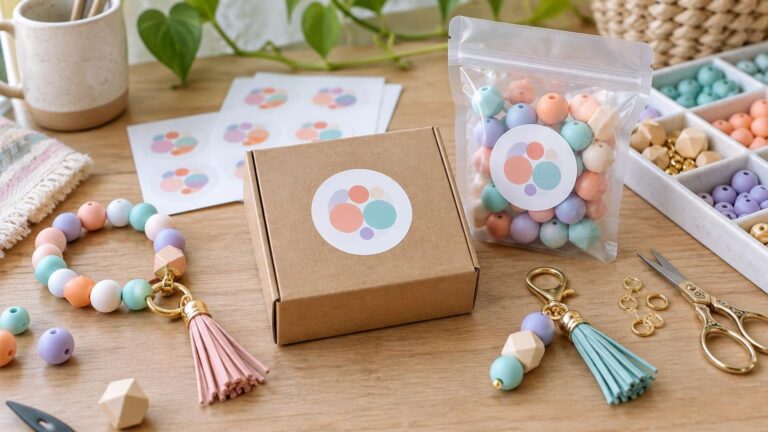
Packaging Handmade Beaded Wristlets: Boxes, Inserts and Brand Stickers becomes much easier when every component has one clear job. For a small-batch seller, start with a right-sized presentation box, a simple insert that controls the wristlet and its hardware, one concise care card, and a single exterior logo seal. If the order will be mailed, place that finished presentation package inside a separate protective shipping container.
This simple stack works because presentation and transit protection are separate decisions. The inner package makes the wristlet look tidy and gift-ready. The outer mailer absorbs the handling, compression and movement that happen in transit. You can then change the mailer or cushioning without redesigning the customer’s unboxing experience.
Define the wristlet and packing workflow first
Do not choose a box from a generic jewelry-packaging photo. Assemble the finished wristlet, including its clasp, key ring, tassel or other hardware, and measure its widest and deepest points while it rests naturally. A loop that technically fits inside a box can still look crowded if the hardware presses into the beads or makes the lid bulge.
If you are still finalizing the project, determine how many beads the wristlet needs and test the completed loop before ordering packaging. The tied and finished piece—not the loose materials—should set the package dimensions.
Next, define where and how you will pack orders. A maker preparing ten wristlets before a weekend market has different needs from a seller assembling the same package every day. Record these basics before buying supplies:
- The finished wristlet’s maximum width, length and depth, including hardware.
- Whether orders will be handed to buyers, shipped or handled both ways.
- Whether the sticker is a tissue seal, box-lid logo, belly-band closure, identification label or QR destination.
- The actual sticker surface: uncoated kraft, coated carton, tissue, glassine, corrugated board or another stock.
- How many complete packages you expect to assemble between reorders.
Build a simple box-and-insert packaging stack
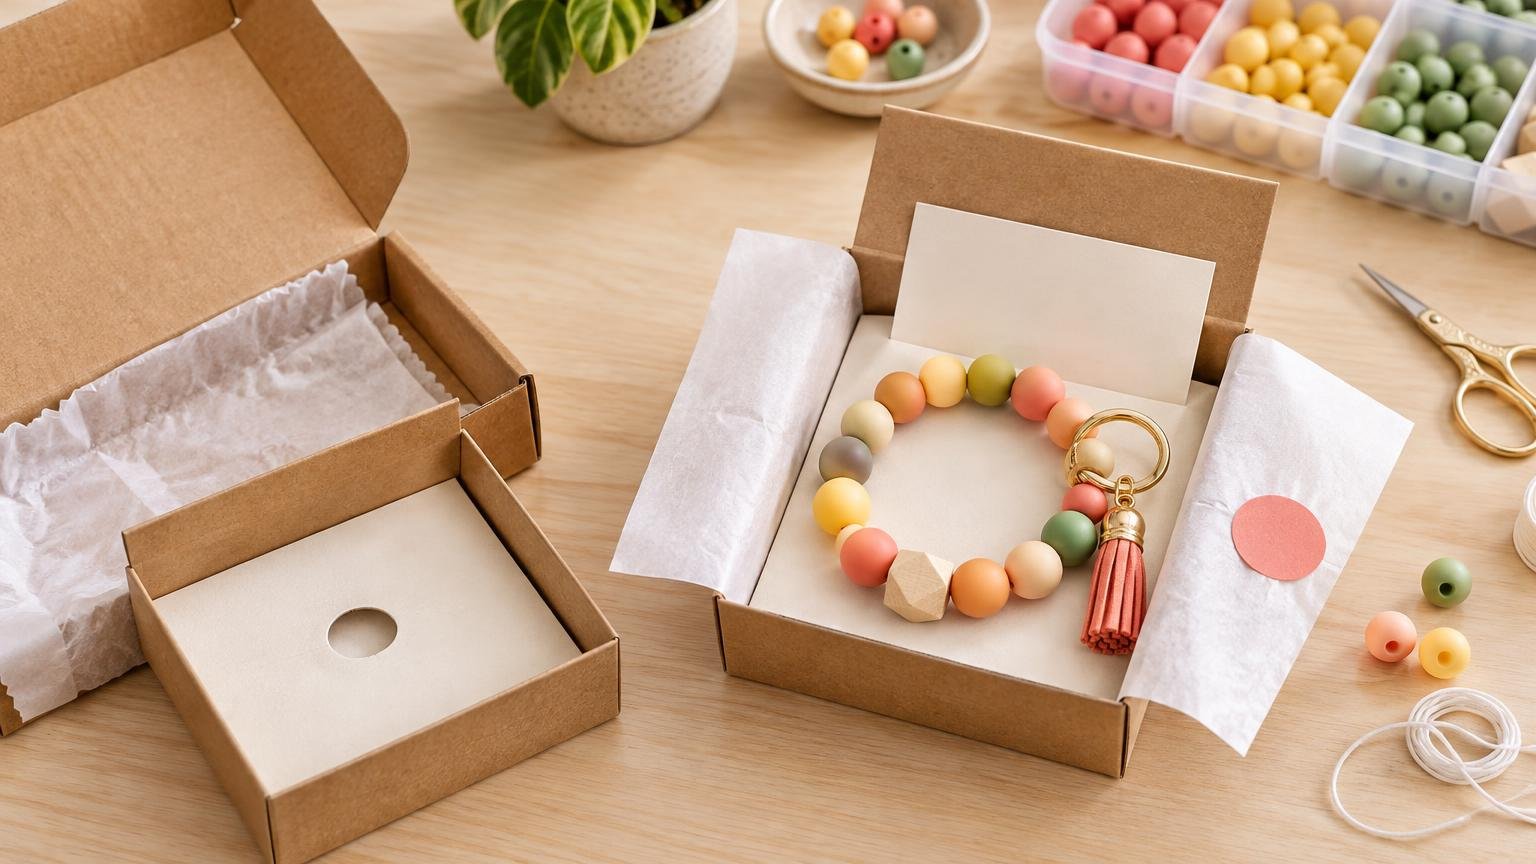
A shallow folding carton or small rigid presentation box is a practical starting point. It should close without compressing the beads and leave enough room for the insert, card and tissue. Prototype with the actual wristlet rather than relying only on interior measurements from a supplier.
Inside the box, use a paperboard holder or insert to preserve the loop shape and keep metal hardware from sliding across the beads. A simple holder can use two shallow notches or tabs to control the loop, with the key ring or clasp positioned in a separate area. Avoid forcing elastic or cord into a tight bend merely to fit a smaller box.
Add one small card for information the customer may need after purchase. Depending on the product, that might include basic care, intended use, material information and a shop URL. Keep the card concise enough that it does not compete visually with the wristlet. If the product contains small detachable parts or is intended for a specific age or use context, make sure its packaging and claims receive the appropriate safety and compliance review.
A layer of tissue or thin wrap can keep the contents visually contained when the lid opens. It is also the most forgiving place for a small logo seal because the sticker has an obvious job: holding the tissue overlap closed.
Choose the setup that matches how you sell
| Selling workflow | Recommended setup | Main advantage | Check before buying |
|---|---|---|---|
| Craft-market handoff | Holder card or small presentation box, care card and logo seal | Lightweight and quick to hand to the buyer | Confirm that the wristlet stays controlled when carried upright |
| Market and shipping | Presentation box, insert, care card, seal, cushioning and outer mailer | Keeps the same branded inner package for both channels | Test the filled box for movement inside the mailer |
| Repeat standardized orders | Consistent box, insert, card and label workflow | Makes stock counting and batch assembly easier | Compare cut stickers with sheet or roll labels at the actual order quantity |
For shipped orders, the presentation box should not be treated as the shipping container unless it was designed and tested for that purpose. USPS says a mailpiece needs an acceptable container sized to its contents, and notes that inserts, bracing and cushioning can help prevent movement and preserve package integrity. Its official packaging and mailing standards also require the address label or envelope to be firmly affixed to the mailing container.
Place the inner box in a right-sized corrugated mailer with enough cushioning to stop it from sliding or striking the walls. Close the mailer, gently move it in several directions and listen for movement. If the presentation box shifts, adjust the cushioning or container rather than expecting a decorative sticker to reinforce the package.
Place each brand sticker where it has a clear job
The tissue overlap is the safest default placement for a small logo sticker. It creates a neat reveal, uses only one seal and leaves the box reusable. Apply the sticker where the tissue layers overlap without pulling the paper so tightly that opening it could disturb the wristlet.
A box-lid sticker works when the lid has a smooth, uninterrupted panel. Leave visual space around the logo and avoid crossing an edge, seam or textured area. For a belly band, place the seal on the band’s overlap so it functions as a closure rather than floating on the front as an extra decoration.
Use an outer-mailer sticker sparingly. Keep it away from the address, postage, tracking barcode and handling marks. A decorative seal must never cover or compete with shipping information. Do not seal a reusable presentation box shut unless breaking the sticker is an intentional part of the opening experience.
Use flexible custom stickers for small batches
For a maker still refining quantities, package colors or seasonal artwork, the practical recommendation is custom logo seals from CustomStickers. The vendor states that its custom vinyl stickers have no minimum order quantity, are available with matte or gloss finishes, and default to a die-cut format, with standard shapes available by request. That flexibility suits small batches where stickers are counted and applied manually.
The vendor describes its stickers as laminated, waterproof and intended for extended outdoor durability. Treat those as material specifications, not a guarantee that the adhesive will perform identically on tissue, uncoated kraft, coated cartons or glassine. Test a small order on the exact packaging stock, then leave several sealed samples long enough to check for lifting, staining or torn surfaces when opened.
CustomStickers’ guidance positions individually cut stickers as easier to count and apply manually below 250 pieces, while roll stickers are aimed at larger runs and label-dispensing workflows. That is vendor guidance rather than an independent packing-speed test, but it offers a sensible dividing question: are you placing occasional decorative seals by hand, or repeatedly labeling standardized packages?
A repeat seller whose main task is package identification rather than a decorative seal may prefer the sheet and roll formats offered by CustomLabelCo. Its published categories include roll, sheet, business, glossy, matte, holographic and clear labels. Confirm the minimum for the exact roll material and configuration before ordering because the available source pages do not present consistent minimum-quantity language.
Proof the artwork at its final printed size
A logo that looks crisp on a laptop can become crowded on a one-inch seal. Simplify fine lines, remove unnecessary wording and view the artwork at its final physical size. The detailed process in turning a bead-shop logo into a packaging sticker can help you decide what the small label actually needs to communicate.
CustomStickers recommends supplying artwork at 300 ppi at final size. It identifies 0.75 by 0.75 inch as the minimum for die-cut stickers and 0.5 by 0.5 inch for kiss-cut stickers. The vendor recommends 6-point type for readability while listing 4-point type as its smallest threshold. A recommendation is not a promise that every font will remain legible, so print a paper mock-up and inspect it at normal viewing distance before approving the design.
If the seal includes a QR code, give the code enough quiet space and do not make it the most fragile part of a detailed shape. CustomStickers lists 0.5 inch as its smallest printable QR code but cautions that a code at that size may not work on every phone. Scan the printed sticker—not merely the digital proof—on multiple phones after it has been applied to the real package.
Run one complete package test
Imagine a seller who offers the same beaded wristlet at markets and online. The seller places it on a paperboard loop holder, adds a small care card, folds tissue over the contents and closes the overlap with one logo sticker. That assembly goes directly into a shopping bag at a market. For a shipped order, the same presentation box goes into a cushioned outer mailer.
This example does not require two branded packaging systems. It keeps the attractive inner package consistent while adding transit protection only when needed. It also makes problems easier to diagnose: if the wristlet shifts inside the box, revise the insert; if the box moves inside the mailer, revise the cushioning.
Reorder complete kits instead of isolated supplies
Your remaining package capacity is set by the component with the lowest usable count. If you have 80 boxes but only 24 inserts, you can pack 24 complete wristlets. Count packaging as kits so an abundant supply of stickers does not hide a shortage of care cards or mailers.
- Count boxes, inserts or holder cards, tissue or sleeves, care cards and sticker seals.
- For shipped orders, also count outer mailers, cushioning, shipping labels and tape.
- Let the lowest component count define the number of ready-to-pack orders remaining.
- Verify the supplier SKU, dimensions, material, finish and quantity before repeating an order.
- Open the artwork file and confirm that the current logo, URL, care wording and QR destination are correct.
- Retest the sticker whenever the box, tissue, coating or other application surface changes.
- Compare the full cart for the required quantity and destination rather than relying on a headline unit price.
Make one finished prototype before placing the order
Start with the real wristlet and build outward: stabilize it with an insert, choose a box that closes without pressure, add one useful card and place one logo seal where it performs a clear function. Add a separate cushioned mailer only for orders that need shipping protection.
Your next step is to assemble one complete package, photograph it closed and open, test the sticker on the production surface and scan any printed QR code. Once that prototype opens cleanly and keeps the wristlet controlled, order the quantity that matches your actual packing cadence.