
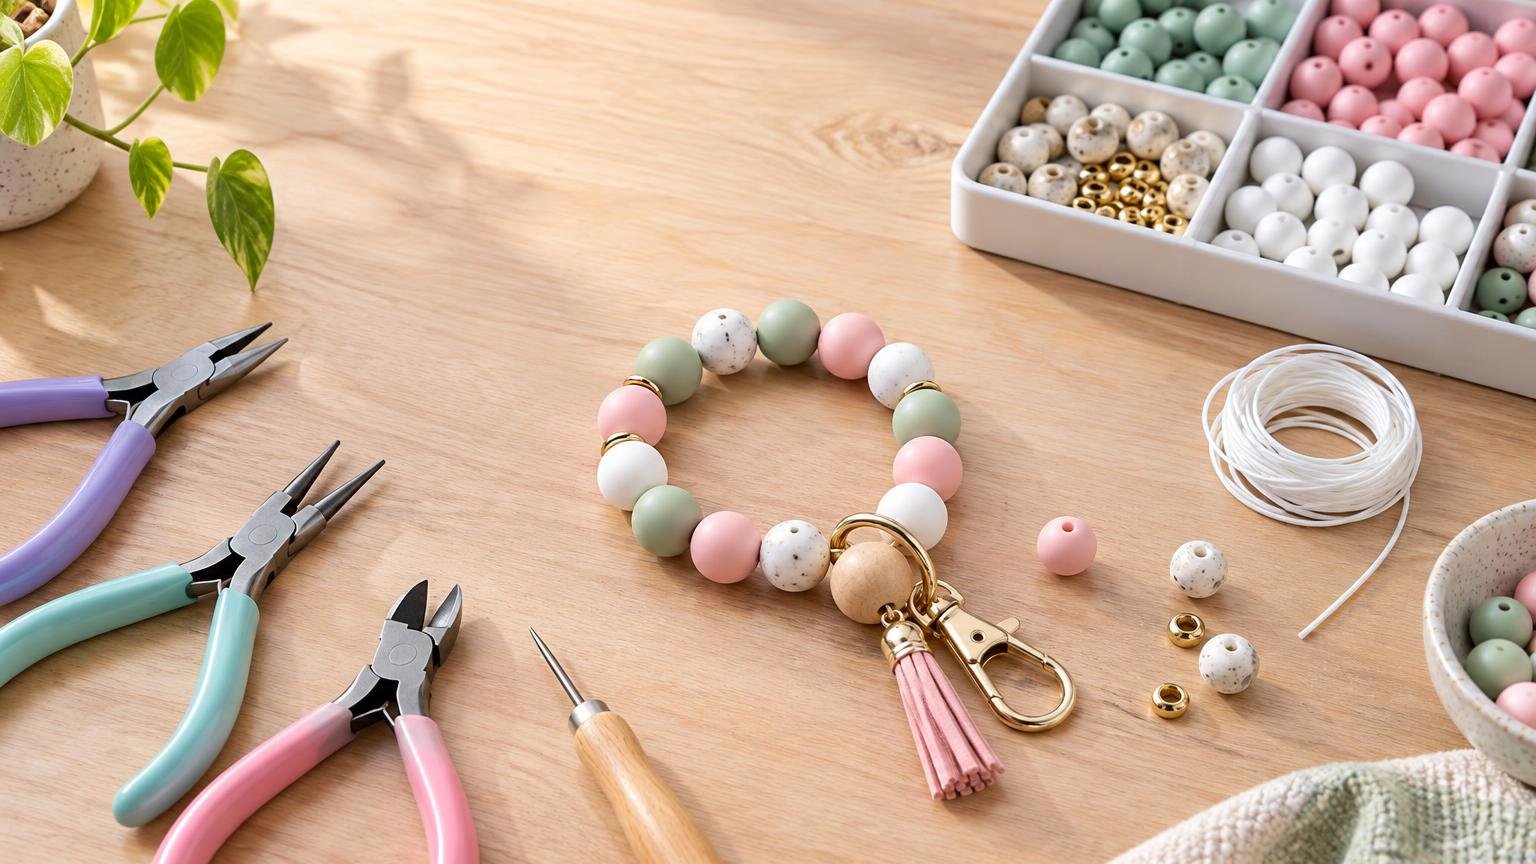
What Tools Do You Actually Need to Start Making Bead Crafts?
If you are wondering what tools do you actually need to start making bead crafts, the short answer is: one suitable cutting tool, a clear work surface and only the tools required by your chosen finish. A stretch bracelet may need nothing more than sharp scissors, while a clasped necklace made with beading wire needs cutters, crimping pliers and findings.
Do not begin with a large jewelry-tool kit unless you already plan to explore several techniques. Pick one project—such as a bracelet, wristlet, necklace, pair of earrings or keychain—then match the tools to its cord, wire and closure. This keeps your first purchase small and prevents the common mistake of owning several pliers but not the one needed to finish the project.
What tools do you actually need to start making bead crafts?
For a simple stretch bracelet, the true minimum is beads, elastic cord and sharp scissors. You also need a ruler or flexible measuring tape if the finished size matters. A shallow tray, bead mat or folded towel helps stop round beads from rolling away, but it is a convenience rather than a requirement.
That minimal list changes as soon as you choose another stringing material or finish. Flexible beading wire cannot be tied like elastic, for example. A typical clasped strand uses crimps to secure the wire and connect the clasp, so it calls for an appropriate wire cutter and crimping pliers.
| First project | Tools you need | Tools you can postpone |
|---|---|---|
| Stretch bracelet | Sharp scissors, ruler or measuring tape | Pliers, crimping tool, bead reamer |
| Clasped strand on beading wire | Beading-wire cutters, crimping pliers; chain-nose pliers are helpful | Round-nose pliers, specialty knotting tools |
| Wire-loop earrings or charms | Round-nose pliers, chain-nose pliers, suitable wire cutters | Crimping pliers, bead loom |
| Seed-bead stitching | Beading needle, thread scissors, work mat | Jewelry pliers unless the clasp requires them |
| Memory-wire bracelet | Dedicated memory-wire cutters; chain-nose or round-nose pliers if forming end loops | Crimping pliers, ordinary side cutters |
Choose tools from the finish backward
The finish is the part that determines most of your tool list. If you will tie elastic, buy a cutter that makes a clean cut. If you will secure beading wire with crimps, add crimping pliers. If you will form wrapped or simple wire loops for earrings and charms, add round-nose and chain-nose pliers.
Stretch bracelets do not need metal crimps. Beadalon advises against using them on elastic because their edges can abrade the cord. Its guidance uses a surgeon’s knot and treats jewelry cement as an optional reinforcement, not a replacement for a secure knot. Follow the instructions supplied with your particular cord before adding adhesive.
For a wristlet, plan both the tool list and bead count before cutting the cord. This wristlet bead-count guide explains how to estimate the starting quantity and test the loop before tying it permanently.
Which jewelry pliers should you buy first?
Chain-nose pliers are the most versatile first pair for projects that use findings. Their tapered, flat gripping surfaces can open and close jump rings, hold small components and bend soft wire. If a jump ring is part of your design, two pairs of suitable pliers give you better control because you can hold one side in each hand.
Round-nose pliers have rounded jaws that form loops. Buy them when you want to make beaded dangles, eye-pin connections or your own wire loops. They are useful, but they are not a substitute for chain-nose pliers when you need a flat gripping surface.
Crimping pliers are more specialized. Their shaped jaws fold and form crimp components around flexible beading wire. They are worth buying for clasped necklaces and bracelets, but unnecessary for a first elastic design. Flat-nose pliers provide another broad gripping surface, although beginners can usually postpone them until a project specifically benefits from the extra leverage.
Match the cutter to the material
One cutter does not safely or cleanly handle every beading material. Use sharp scissors or thread snips for elastic and beading thread. Use a cutter specifically rated for flexible beading wire when making clasped strands. Soft craft wire, eye pins and head pins can be cut with suitable side cutters.
Check material fit before buying extra tools
A clean finish starts with compatible beads and stringing material. Identify the smallest hole in the entire bead mix, then confirm that the cord, thread or wire passes through it as many times as the pattern requires. A bead may accept one pass but become too crowded when the design needs the material to double back.
For flexible beading wire, Beadalon recommends choosing the largest diameter that still passes through the smallest bead hole. The practical goal is not simply to buy the thickest option: it is to use a suitable diameter without blocking the hole or preventing the planned finishing path.
- Choose the beads and identify the smallest hole.
- Select cord, thread or wire that fits the project and required number of passes.
- Decide whether the finish will be a knot, crimp, wire loop or another connection.
- Buy the cutter and finishing tool rated for those materials.
- Test the complete finish with spare components before assembling the final piece.
Tools you can usually postpone
A bead mat or tray is pleasant to use, but a folded towel on a shallow baking sheet can contain a first project. Organizers become useful after your collection grows. Bead stoppers help hold an unfinished strand, yet clips or careful temporary knots may be enough for an early project if they do not damage the material.
You can also postpone bead reamers, knotting tools, crimp covers, specialty bail-making pliers, looms and large plier sets until a design gives you a reason to buy them. A tool earns its place when it solves a repeated problem: holes that need careful adjustment, evenly spaced knots, high-volume assembly or a particular loop size.
Keep loose beads away from young children
Loose beads and findings can present a choking hazard. For projects intended for children, review the age grading and applicable small-parts requirements rather than assuming a craft component is suitable because it is colorful or soft. The U.S. Consumer Product Safety Commission’s small-parts guidance explains that children’s products intended for children under three are prohibited when small parts create choking, aspiration or ingestion hazards.
Water beads require separate caution: they can expand after ingestion, and the CPSC urges caregivers to remove them from environments with young children. They should not be treated as an interchangeable alternative to solid craft beads.
Start with one project, not a whole studio
The easiest first purchase is a project-sized set of beads, compatible stringing material, matching finishing components and one correct cutter. Add no pliers for a basic stretch bracelet; add crimping pliers for a crimped beading-wire strand; or add chain-nose and round-nose pliers for wire loops. Complete that project before expanding your toolkit. The tools you genuinely miss during the build will tell you what to buy next.