How to Open and Close a Jump Ring Without Distorting It
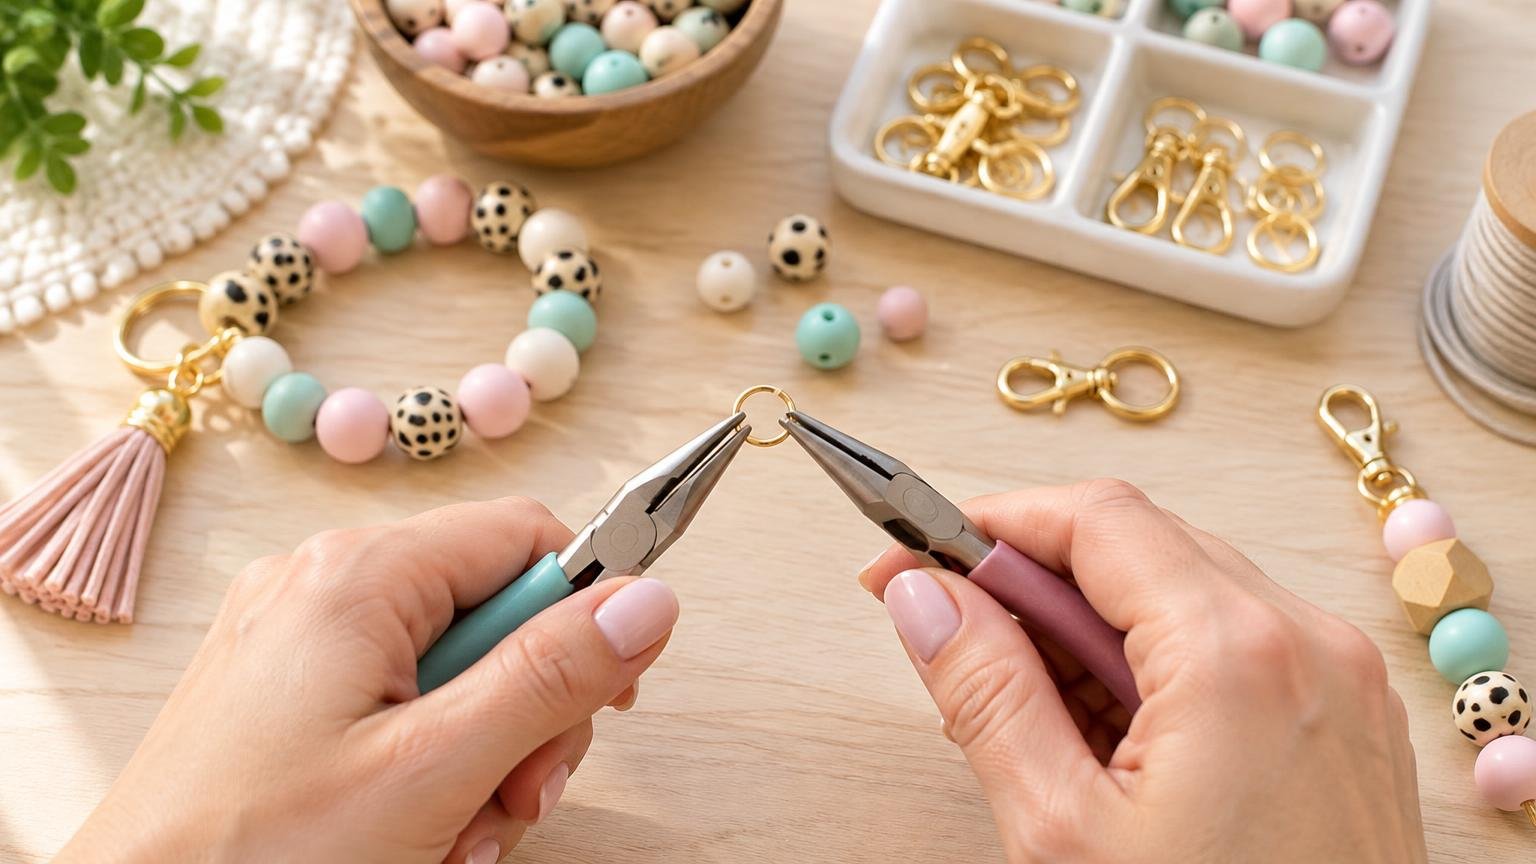
To open and close a jump ring without distorting it, grip the ring on both sides of its seam with two smooth-jaw pliers. Twist one end toward you and the other away from you, using only enough movement to insert the component. Then reverse the twist until the cut ends meet flush. Do not pull the ends directly away from each other; that can stretch the circle into an oval and make a neat closure much harder.
This small motion matters on earrings, bracelets, necklaces, keychains and beaded wristlets. A cleanly closed ring looks tidier and is less likely to snag, but appearance alone cannot establish how much load a connection can carry.
Make sure you have an open jump ring
The sideways-twist method applies to an ordinary open jump ring: a single wire circle with one visible cut seam. Before reaching for your pliers, confirm that you are not holding a split ring or soldered ring.
| Ring type | How to recognize it | How to handle it |
|---|---|---|
| Open jump ring | One wire circle with one cut seam | Twist the cut ends sideways with two pliers. |
| Split ring | Two overlapping coils, similar to a miniature key ring | Separate the coils with split-ring pliers and thread the component around the ring. |
| Soldered or closed ring | A continuous ring with no openable seam | Do not force it with pliers; it must be cut for removal. |
A split ring is made to work through its overlapping coils, not by twisting the entire ring open. Split-ring pliers can separate those coils so the attached component can be threaded into place. A soldered ring has no plier-openable seam. Forcing either type as though it were an open jump ring is likely to damage the finding.
Choose pliers that give you control
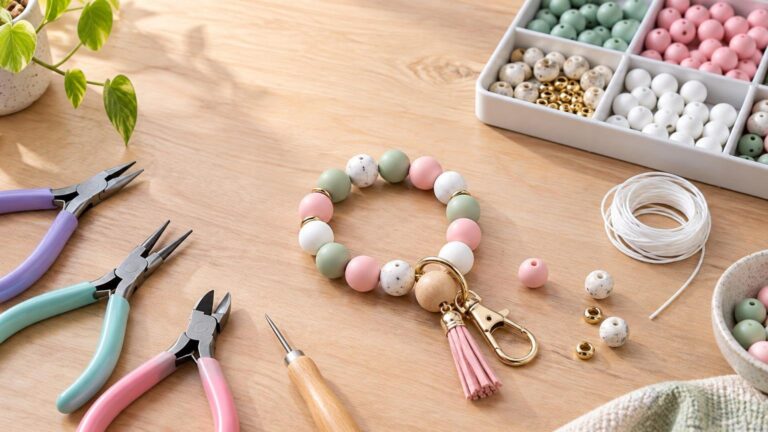
Use two smooth-jaw jewelry pliers. A chain-nose and flat-nose pair works well, as do two chain-nose or bent-chain-nose pliers. Smooth jaws are important because serrated household pliers can leave unwanted marks. Nylon-jaw pliers are another option when a plated, coated or colored finish is especially vulnerable to nicks or chipping.
If you are assembling your first toolkit, start with pliers and cutters suited to the findings and stringing material in your actual project rather than buying every specialty tool at once. This guide to essential bead-craft tools can help you build a practical starter set.
A finger-worn jump-ring opener can replace one of the two pliers. The ring sits in a tool slot while the other hand controls the twist with chain-nose or flat-nose pliers. Slot count and size vary by model, so check the tool against your rings rather than assuming universal compatibility. The Beadsmith jump-ring opener specifications show one example of this tool style.
Open the ring with a sideways twist
- Find the cut seam and keep it facing upward where you can see it.
- Grip the ring close to one side of the seam with the first pair of pliers.
- Grip close to the other side of the seam with the second pair. The jaws should control the cut ends rather than squeeze across the full diameter.
- Stabilize one hand. Rotate the other wrist slightly toward or away from you so the cut ends move sideways in opposite directions.
- Stop as soon as the opening is wide enough to admit the clasp, chain, charm or other component.
Manufacturer illustrations vary in exact plier placement, including positions resembling 11 and 1 o’clock or 9 and 3 o’clock. The useful principle is the same: control opposite sides of the cut and twist, rather than spreading the ring across its diameter. The Fire Mountain Gems jump-ring tutorial provides a visual demonstration of this motion.
Use the smallest opening that lets the component pass. A wide twist creates more work during closure and may make it difficult to return the ends to their original relationship.
Close the seam so the ends meet flush
After adding the component, keep both pliers in place and reverse the opening motion. Bring the cut ends back into alignment without squeezing the ring into a narrower shape. Maker guidance suggests moving slightly past alignment and then allowing the ends to settle together. The goal is a circular ring with cut faces that line up and meet flush, without a meaningful visible opening.
Inspect the ring from the front and from the side under bright light. Rotating the piece is useful because a seam that appears closed head-on may reveal an offset from another angle.
Inspect alignment, gap and tool damage
A neatly closed ring should remain circular, with the two cut ends at the same height and meeting face to face. There is no universal numerical seam-gap tolerance in the reviewed maker guidance, so the practical check is whether the ends meet flush and stay aligned.
Look for these warning signs:
- A visible gap that remains after a careful closing attempt
- One end sitting above, below or across the other
- An oval shape caused by pulling the ends outward
- A flattened area where the pliers crushed the wire
- Deep jaw marks, chipped coating or a visible nick near the seam
- A ring that springs back open or will not hold a snug alignment
Do not keep bending a stubborn ring indefinitely. Repeated correction is not a reliable substitute for an undamaged finding, and a seam that merely looks tidy does not provide a strength rating.
When to replace the jump ring
Suitability also depends on wire gauge, metal or alloy, temper, cut quality, ring diameter, the shape of the connected parts and the loads the finished item will encounter. Broad gauge suggestions can help with initial selection, but they are not universal load ratings. For a keychain carrying several heavy objects, for example, choose findings for that job rather than assuming a delicate jewelry ring is adequate.
Keep small-part safety separate from seam quality
A flush jump-ring seam is good workmanship, but it is not a child-safety certification or a solution to choking risk. In the United States, children’s products intended for children under three can be subject to small-parts requirements when components present choking, aspiration or ingestion hazards. The CPSC evaluates small parts using an official test cylinder and considers factors including the product’s stated age, marketing and commonly recognized use. CPSC guidance on small parts and choking hazards explains the regulatory framework.
Do not treat a handmade beaded item as suitable for babies, chewing, teething, child restraint or unsupervised child use simply because its jump rings appear closed. Those uses require separate product-design, material and safety considerations.
The clean-finish rule to remember
Twist, do not pull. Use two smooth-jaw pliers, open the seam only as far as necessary, reverse the same motion and inspect the ring from more than one angle. If the ends will not meet flush or the wire is visibly damaged, replacing the finding is the cleaner and more cautious choice.
References
- Video Tutorial – Secrets to Opening and Closing Jump Rings
- JRR2 | The BeadSmith
- Keeping Jump Rings Closed – Fire Mountain Gems and Beads
- All About Jump Rings: jewelry making tips and guide
- Solid Rings
- Beadalon
www.beadalon.com · 1-866-423-2325
Cre - Small Parts Ban and Choking Hazard Labeling | CPSC.gov
- Small Parts and Choking Hazard Labeling FAQs | CPSC.gov