How to Photograph Beaded Products So Size and Color Are Clear
A strong beaded-product listing needs more than one attractive overhead photo. Give the shopper a clear overall view, a scale reference, a close-up of the connector or finish, and identifiable photos of every meaningful variation. Keep the light, background and editing consistent so the images explain the product instead of making the shopper guess.
This matters especially for wristlets, keychains and jewelry because a small change in bead size, hardware finish or overall length can alter how the piece looks and feels. Your photos should answer two questions quickly: “What exactly will I receive?” and “How large is it?”
Build a simple four-part photo set
The most useful starting set combines four different jobs rather than asking one image to do everything. The Etsy product photography checklist distinguishes overall, detail, scale and group images, which translates neatly to handmade beadwork.
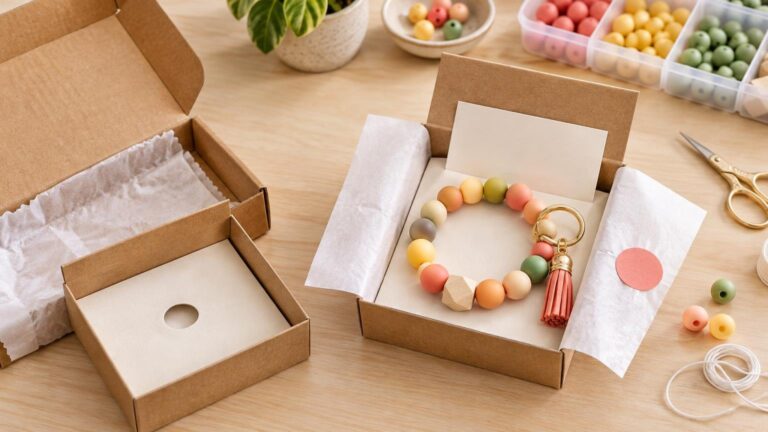
- Overall view: Photograph the entire finished item without cropping out the loop, clasp, tassel or other functional part. Arrange the piece naturally, but do not bend it into a shape that disguises its actual proportions.
- Scale view: Show the item beside a familiar object or on a hand, wrist or model when appropriate. Keep the full product visible and add written dimensions to the listing because the measurement—not the prop—is the precise size reference.
- Connector detail: Move close enough to show the actual clasp, split ring, swivel, jump ring, knot, crimp or elastic join. Photograph both sides if the construction looks different from each direction.
- Variation view: Show the colorways, materials, quantities and hardware finishes a shopper can select. Label the images or arrange the options in the same order used by the variation menu.
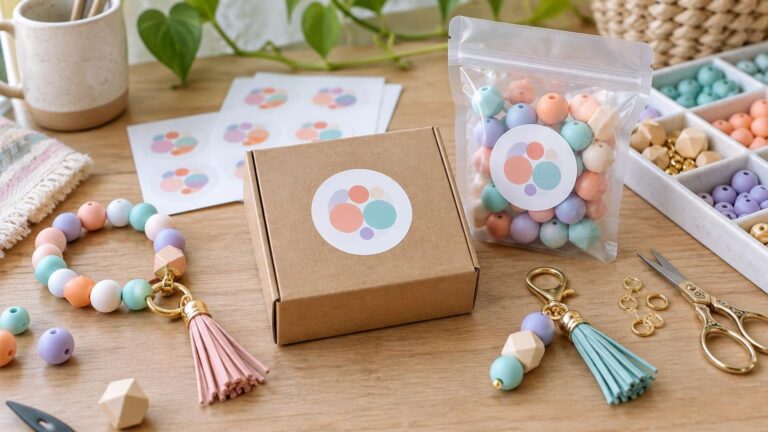
A group photo is useful for showing a coordinated collection, but it should not replace a clean image of the selected design. Reusing one photo across several materially different products can make distinct bead patterns or hardware options look identical. Photograph a representative finished sample of each meaningful option instead.
Make size understandable in more than one way
Start with a straight, unobstructed measurement view. For a wristlet, state what you measured—such as the relaxed loop, the full laid-flat length or the inside circumference—rather than listing a number with no reference point. For a keychain, clarify whether the stated length includes the clasp, ring or tassel.
Then add visual context. A hand or wrist can communicate general scale, but bodies vary, so it cannot promise fit. A ruler can be more precise, provided the product and markings sit on the same plane and the camera is not angled in a way that exaggerates perspective. If you sell several sizes, photograph them together in order and identify each one directly in the image or caption.
Finish by checking the listing text against the item you photographed. If the sample is a prototype, label it as a prototype and replace its images if the production version changes. A size photo should clarify the written dimensions, not quietly contradict them.
Use soft, consistent light for believable color
Diffused window light is a practical place to begin. Photograph near a bright window without putting the beads in hard direct sun, and turn off nearby lamps if they introduce a noticeably warmer or cooler cast. Etsy recommends diffused window light and warns that mixed light and direct sun can create inconsistent tones, washed-out color or harsh shadows.
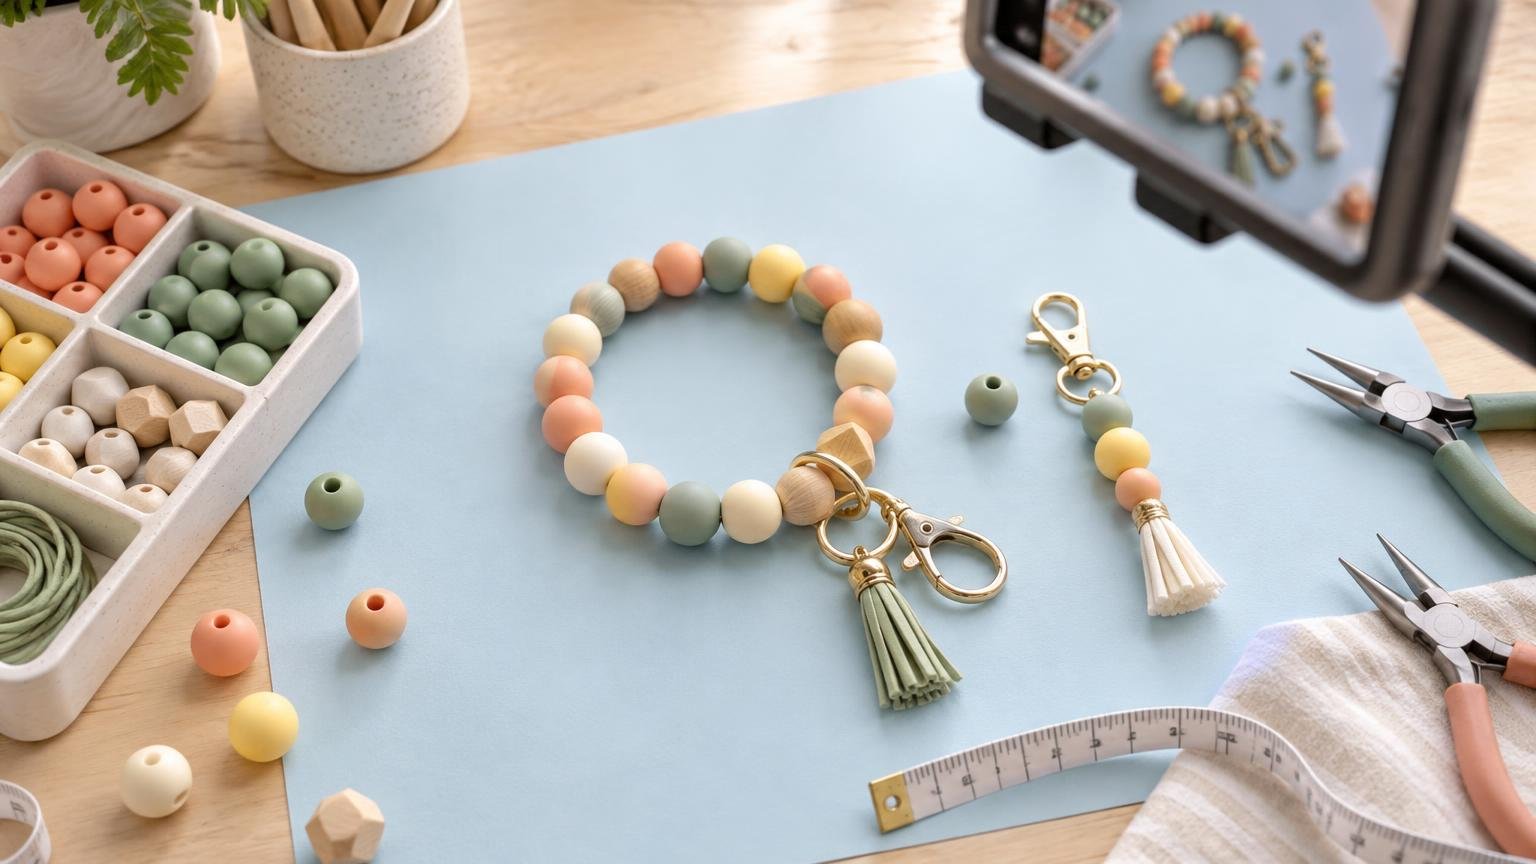
Choose a clean white, light gray or other neutral background that separates the product from the surface. Neutral does not have to mean dull: a small prop can support the style, but it should not reflect colored light onto glossy beads or compete with the product. Use the same background and lighting position throughout a collection so shoppers can compare colorways more easily.
Glossy silicone, glass, acrylic and metal findings can all produce bright reflections. If a highlight hides the bead color or a connector edge, move the light, soften it with diffusion or rotate the product slightly. The goal is not to remove every reflection; a controlled highlight can help communicate a smooth or glossy finish.
Keep the camera setup repeatable
A current smartphone can be sufficient when it produces a sharp, well-exposed image in your actual lighting. Stabilize the phone or camera with a tripod or firm support, then use a timer or remote release to reduce movement while taking close-ups. Macro mode or a macro lens may help with small connector details when the device can focus at that distance.
Do not copy a stranger’s shutter speed, aperture or ISO and assume it will suit your table. Those settings depend on the available light, lens, distance, support and desired depth of field. Instead, test the setup you will really use: zoom in on the captured image, confirm that the nearest and farthest important beads are sharp, and check that pale beads retain detail rather than turning into blank white shapes.
Once the setup works, mark the product and tripod positions with removable tape. Keeping the camera distance, height and orientation consistent makes a shop grid look organized and reduces the chance that two similarly sized products appear dramatically different.
Edit for accuracy, not a new product
Useful edits include modest exposure correction, white-balance adjustment, straightening and cropping. Remove temporary dust from the physical item before shooting rather than relying on heavy retouching. Etsy’s image requirements allow lighting and color adjustments when the result still accurately represents the item, but images should not conceal flaws or make the product appear different from what the buyer will receive. Etsy’s listing-image requirements explain that accuracy standard directly.
Compare the edited image with the physical item under neutral viewing light. Check pale neutrals, deep colors and reflective metal separately; an adjustment that helps one may distort another. Exporting web images in sRGB supports broad online compatibility, but it cannot guarantee identical color on every display. Adobe notes that gamut, display technology, calibration, ambient light and software interpretation can all affect color appearance. Adobe’s color-management guidance explains why screen-to-screen variation remains possible.
Show details without implying unproven performance
A sharp connector photo documents what is present and how the visible finish looks. It does not prove load capacity, long-term durability or compatibility with every use. Avoid turning a close-up into an unsupported strength or safety claim. If a component specification matters, verify it for the exact component used rather than inferring it from appearance.
Be equally careful around age and child-safety language. Beads and detached findings are small parts, and a polished photo does not establish age grading, certification, suitability for chewing or safety during unsupervised use. The U.S. Consumer Product Safety Commission’s small-parts guidance explains that hazardous small parts are prohibited in products intended for children under three and that certain children’s products require prescribed choking-hazard labeling. That framework does not make an adult craft accessory a child-safe product.
Run this check before publishing
- The first image shows the whole product clearly.
- At least one image provides scale, and the listing gives written dimensions.
- A close-up shows the real connector, join or finishing method.
- Every meaningful color, material or hardware option is identifiable.
- The lighting and background remain consistent across the set.
- Highlights do not hide important color or construction details.
- Edits preserve the product’s actual color, finish and visible condition.
- The photographed sample matches the option the shopper will receive.
- No image is being reused in a way that makes different designs appear identical.
- Captions and listing text avoid unsupported strength, compatibility or safety claims.
Treat the photo set as part of the product description, not decoration added at the end. Once the images accurately establish what the item is, how large it is and which option is being offered, they can also support a clearer listing and a more confident approach to pricing handmade beaded wristlets and keychains. The cleanest workflow is simple: photograph one representative item carefully, verify every detail against the listing, and repeat the same setup for each genuine variation.
Frequently Asked Questions
Which photos should every beaded-product listing include?
Start with four: the whole finished item, a scale view, a close-up of the connector or finish, and identifiable photos of every meaningful variation.
What is the clearest way to show product size?
Pair a visual scale reference with written dimensions. State exactly what was measured, including whether the length includes a clasp, ring or tassel.
How can I photograph bead colors more consistently?
Use diffused window light, avoid mixed lighting and hard direct sun, and keep the same neutral background and lighting position across the collection.
Can product photos show the exact color buyers will see?
No. Accurate editing and an sRGB export help, but display technology, calibration, ambient light and software can still change how color appears.
Can I reuse one image for several variations?
Only when it still identifies what the shopper is selecting. Materially different bead patterns, colors, quantities or hardware finishes need representative images that do not make distinct options look identical.
What performance or safety claims can a close-up photo prove?
A photo can document visible construction and finish, but it does not establish strength, durability, age grading, certification or child safety. Verify any such claim separately for the exact product and component.
References
- Product Photography Checklist
- 7 Essential Types of Product Photos
- Requirements and Best Practices for Images in Your Etsy Shop – Etsy Help
- Color management in Photoshop on desktop | Photoshop
- Manage documents colors for online viewing in Photoshop on desktop | Photoshop
- How to Style Product Photos
- How to Photograph Challenging Items
- Small Parts Ban and Choking Hazard Labeling | CPSC.gov